
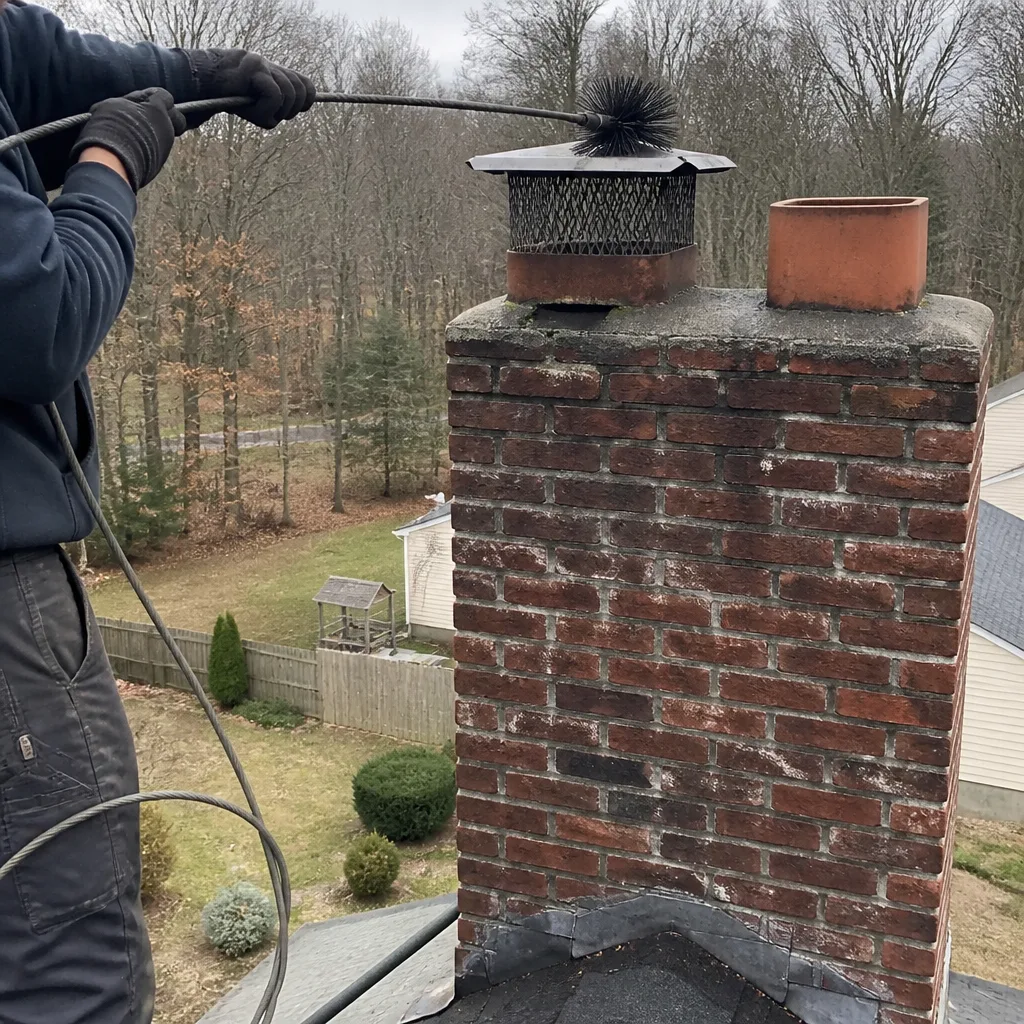
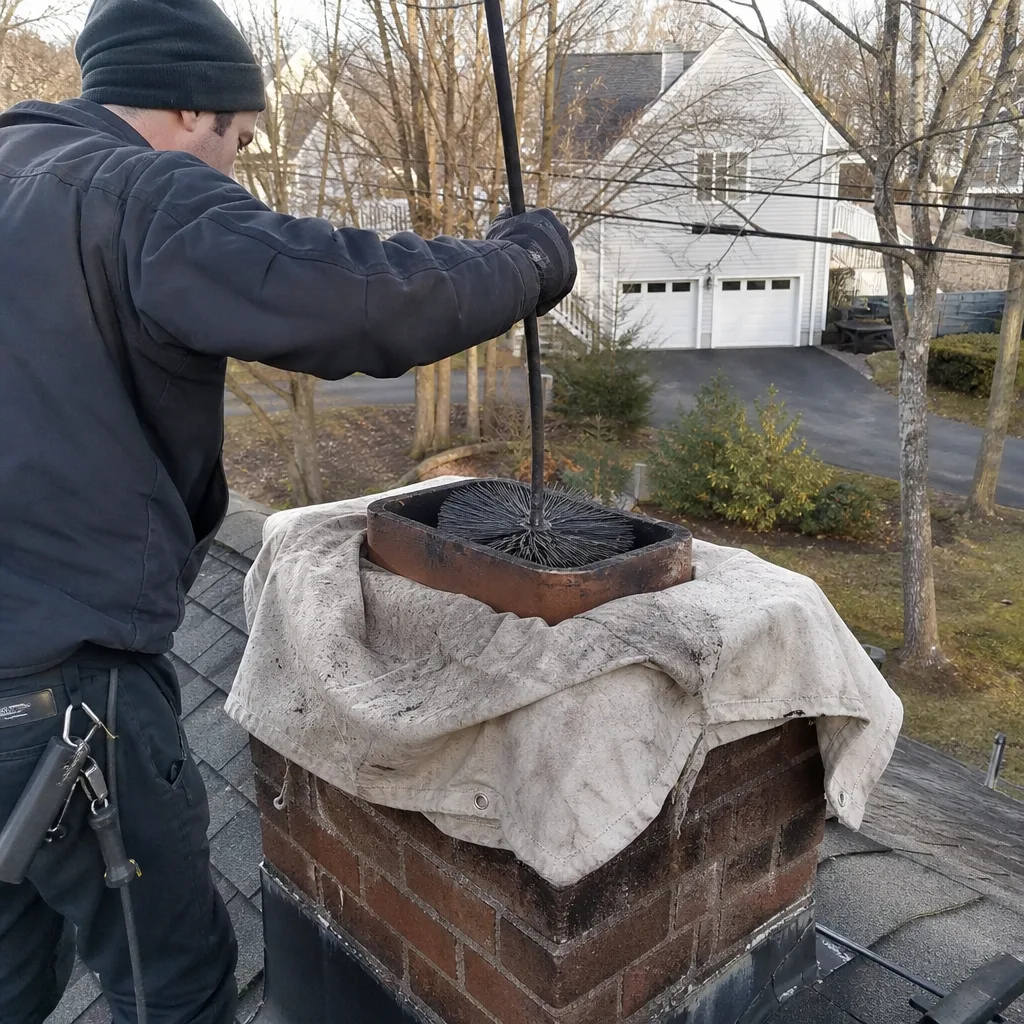
Level 1 sweep and inspection to the NFPA 211 annual standard - flue, crown, cap, and flashing checked and photographed
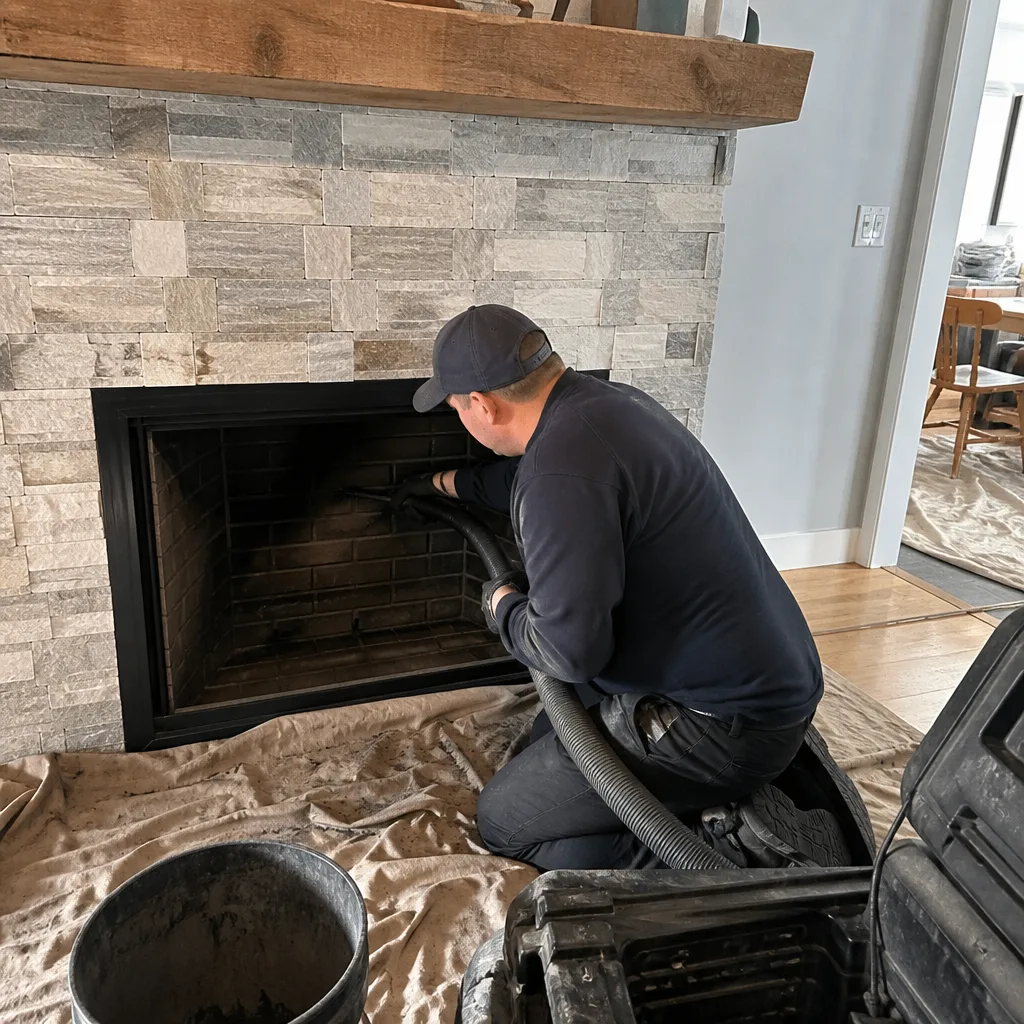
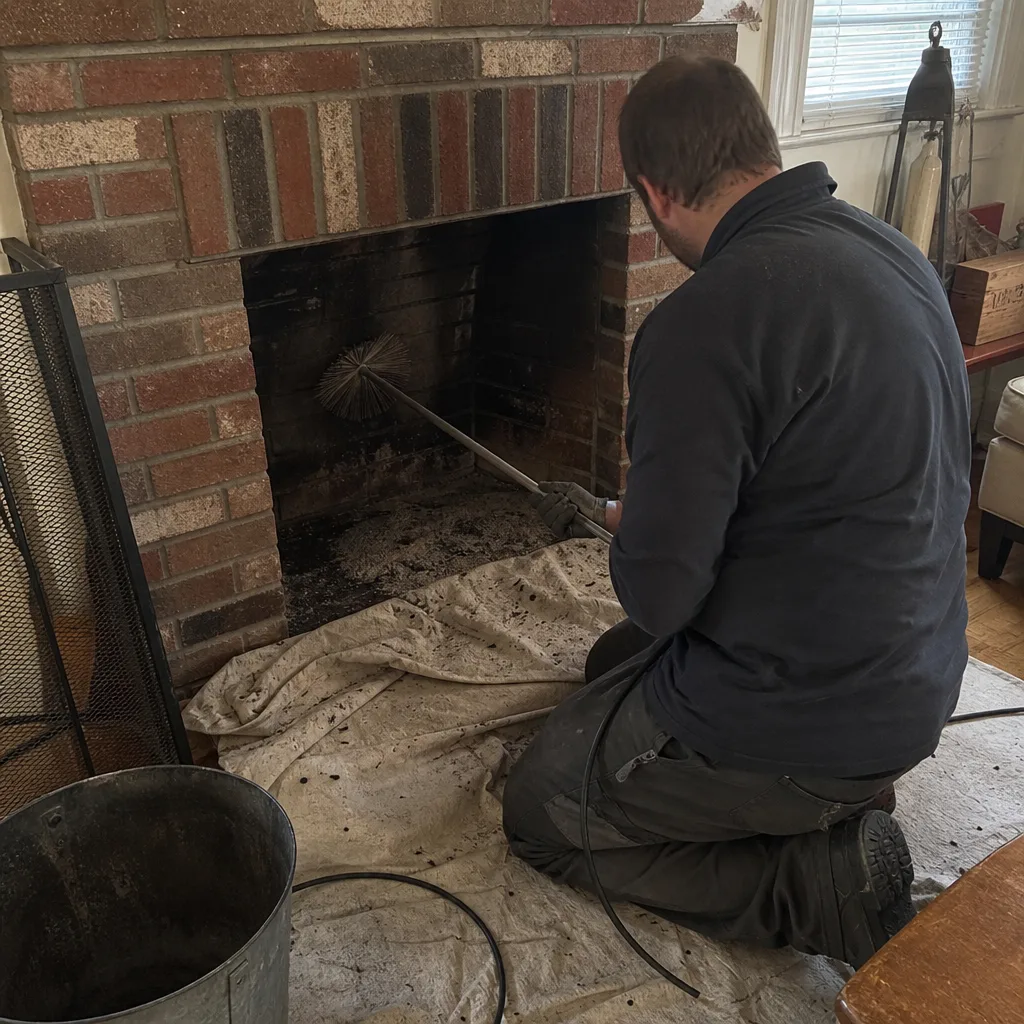
Chimney sweep logs do not sweep chimneys. They loosen some creosote - which then falls where a brush and vacuum still have to collect it.
 Before
 After
After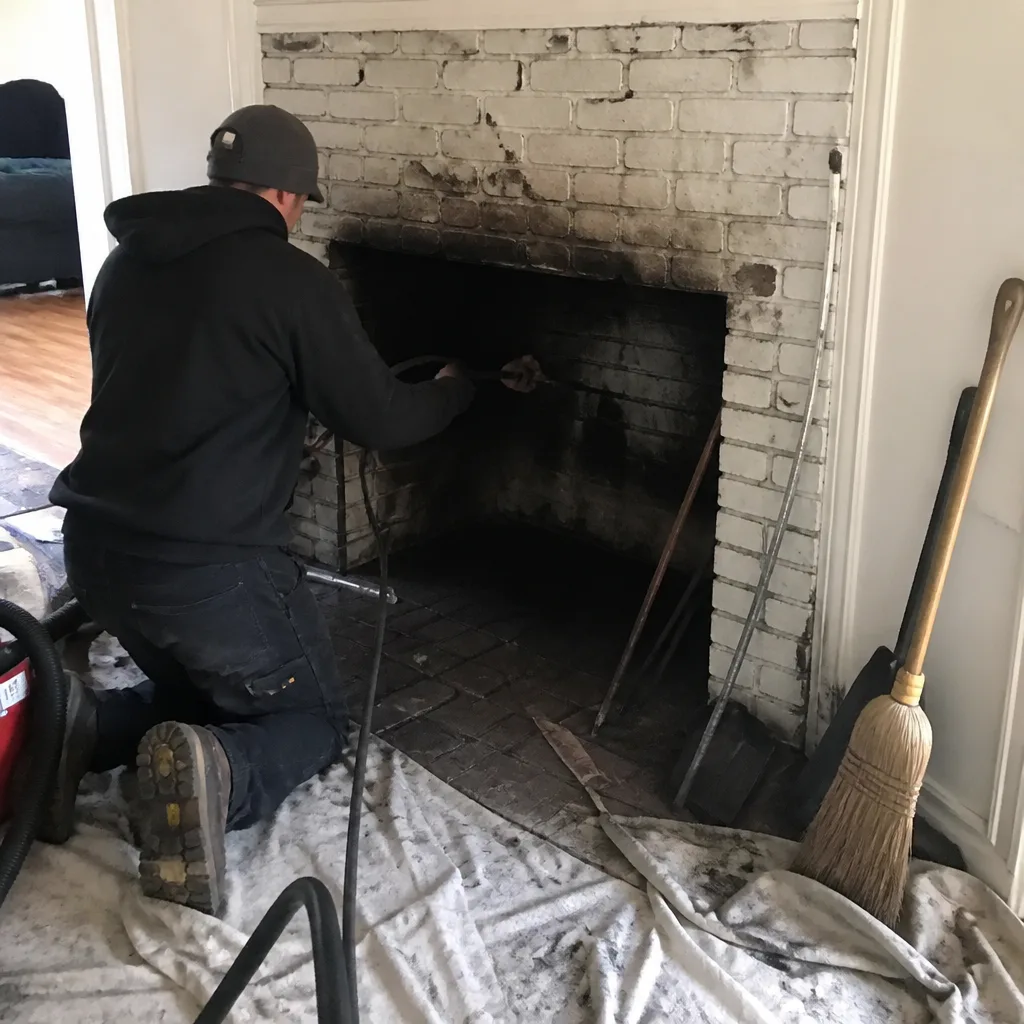 Before
 After
After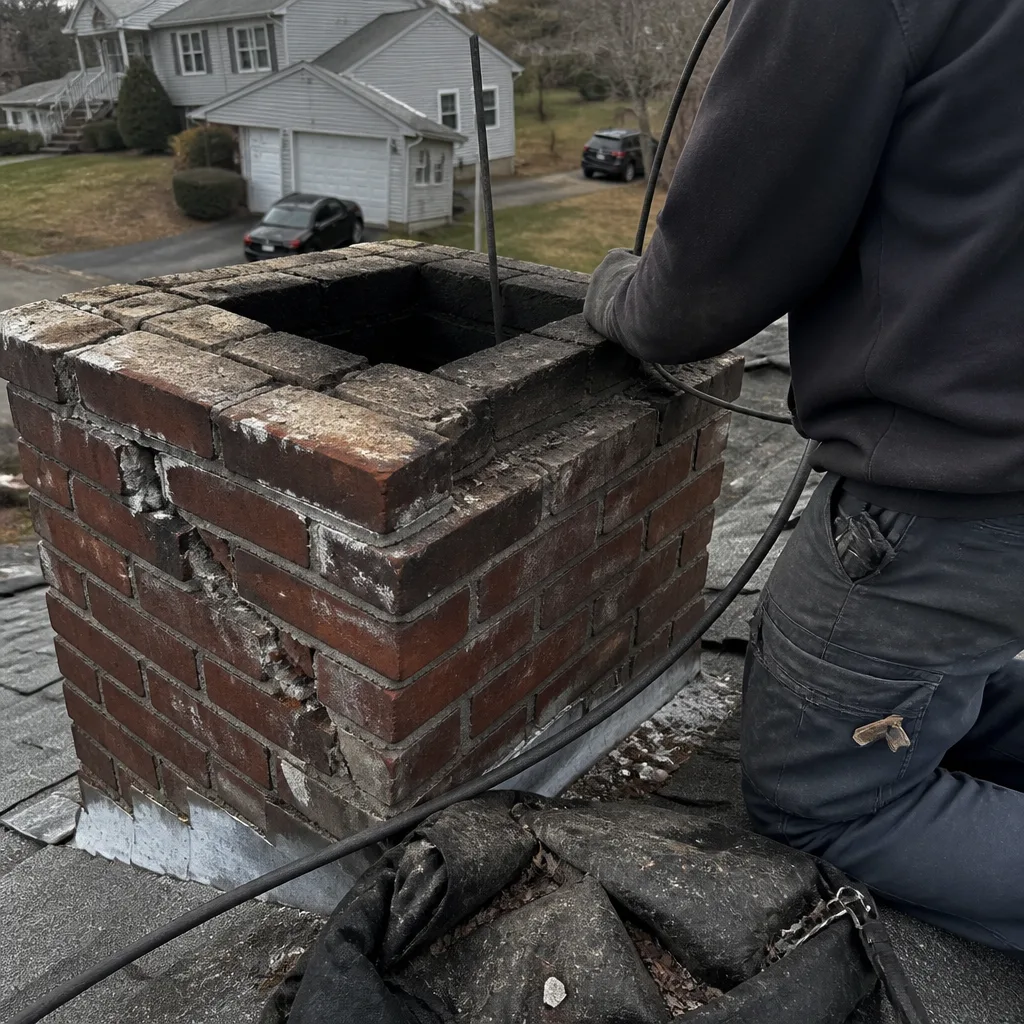 Before
 After
AfterHeatShield Chimney Cap Installation: The Leominster Owner’s Guide
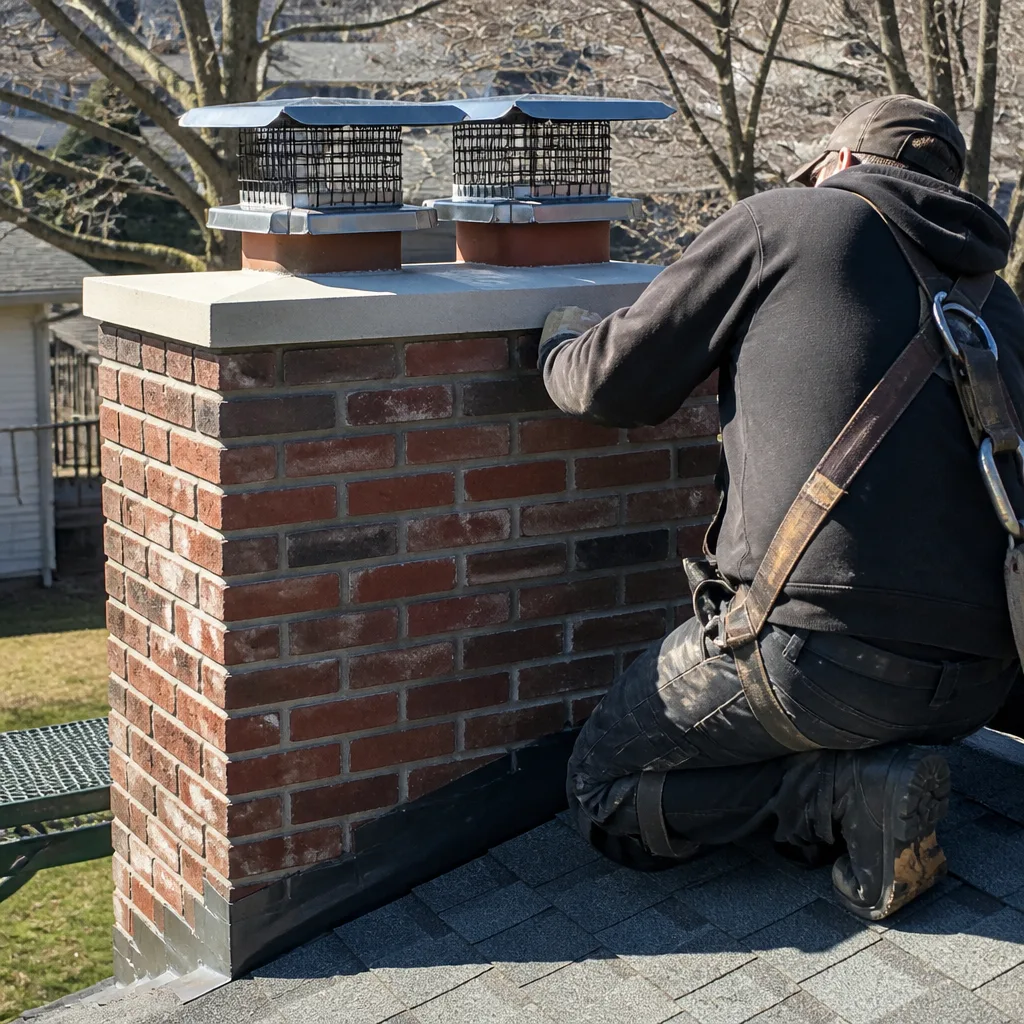
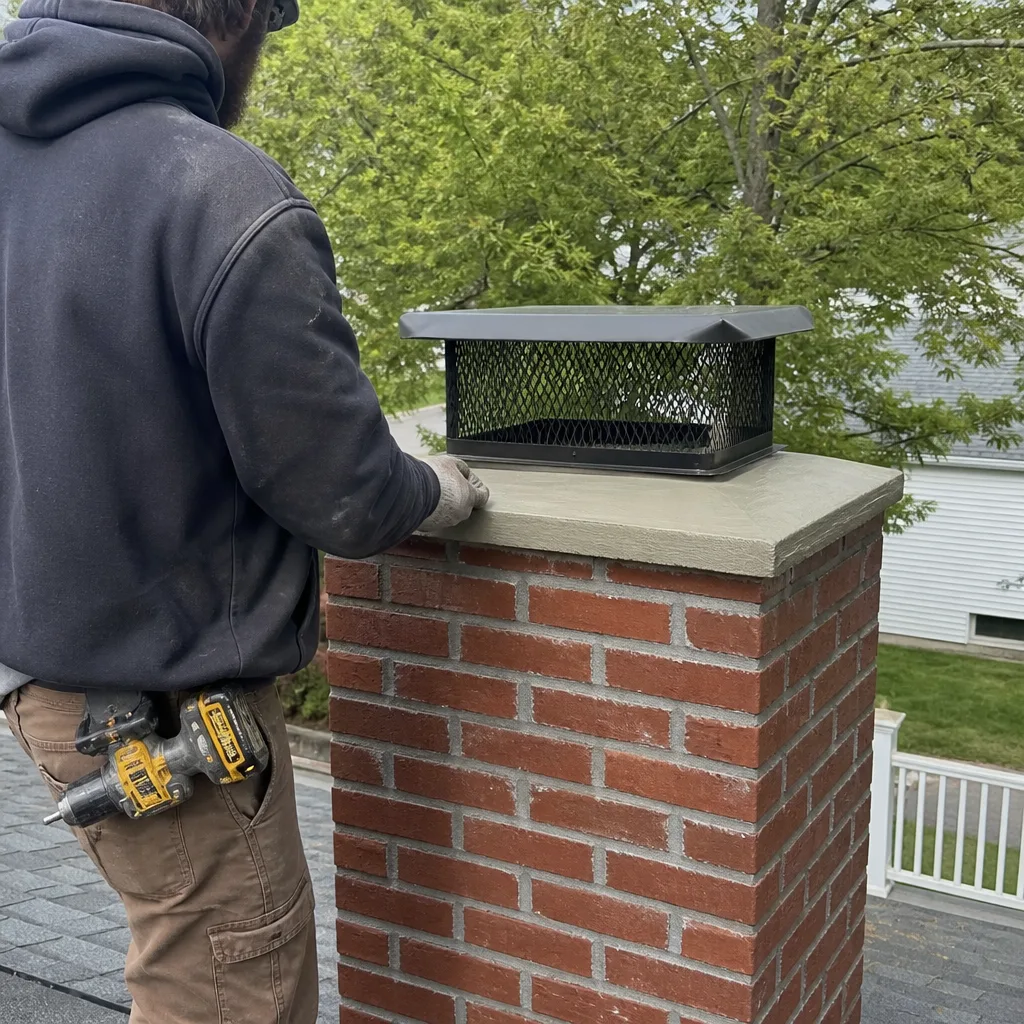
HeatShield chimney cap installation in Leominster typically runs $340-$580 for most single-flue systems, including the cap, collar, sealant, and labor with a documented photo record. We stock HeatShield-compatible caps and collars on our Leominster trucks, and most replacements are completed in under two hours once the written price is approved. The camera goes up first. Everything else follows the footage.
Most Leominster homeowners discover their HeatShield chimney cap is failing during a routine sweep or after a storm rolls through North Central Massachusetts. Water stains on the firebox, rust flakes in the hearth, or a cap sitting crooked after ice buildup on the roof are the usual clues. In the older homes near Monument Square, we also see caps that were never properly sealed during original installation, letting moisture work its way behind the collar for years before anyone notices.
Which HeatShield Models This Applies To
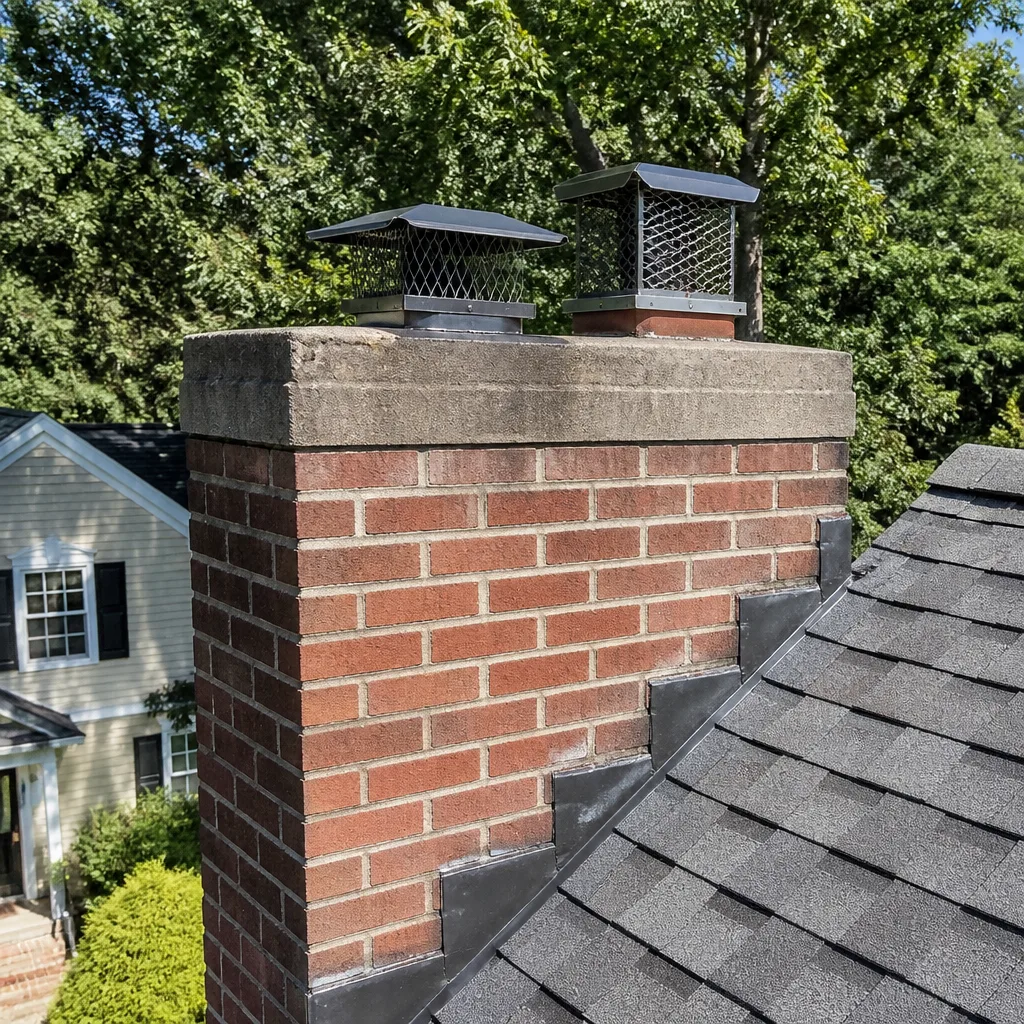
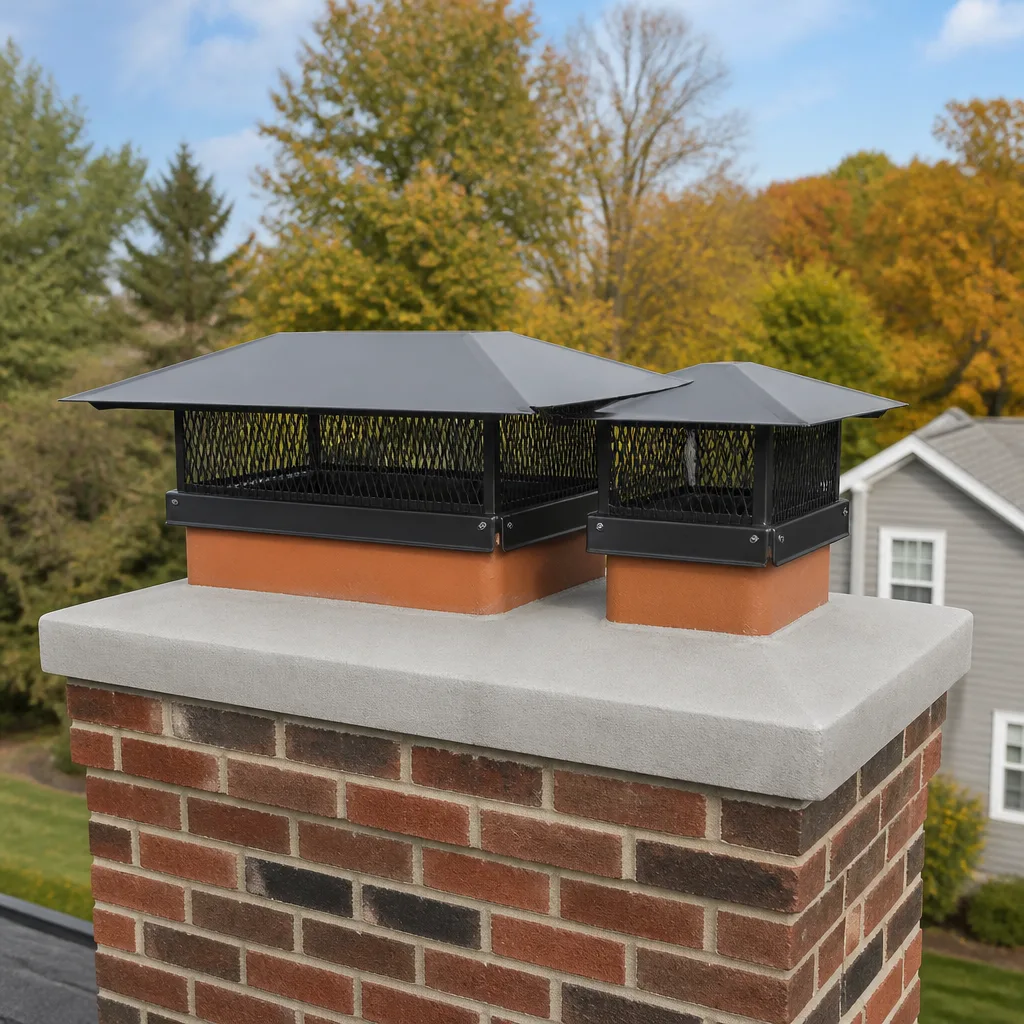
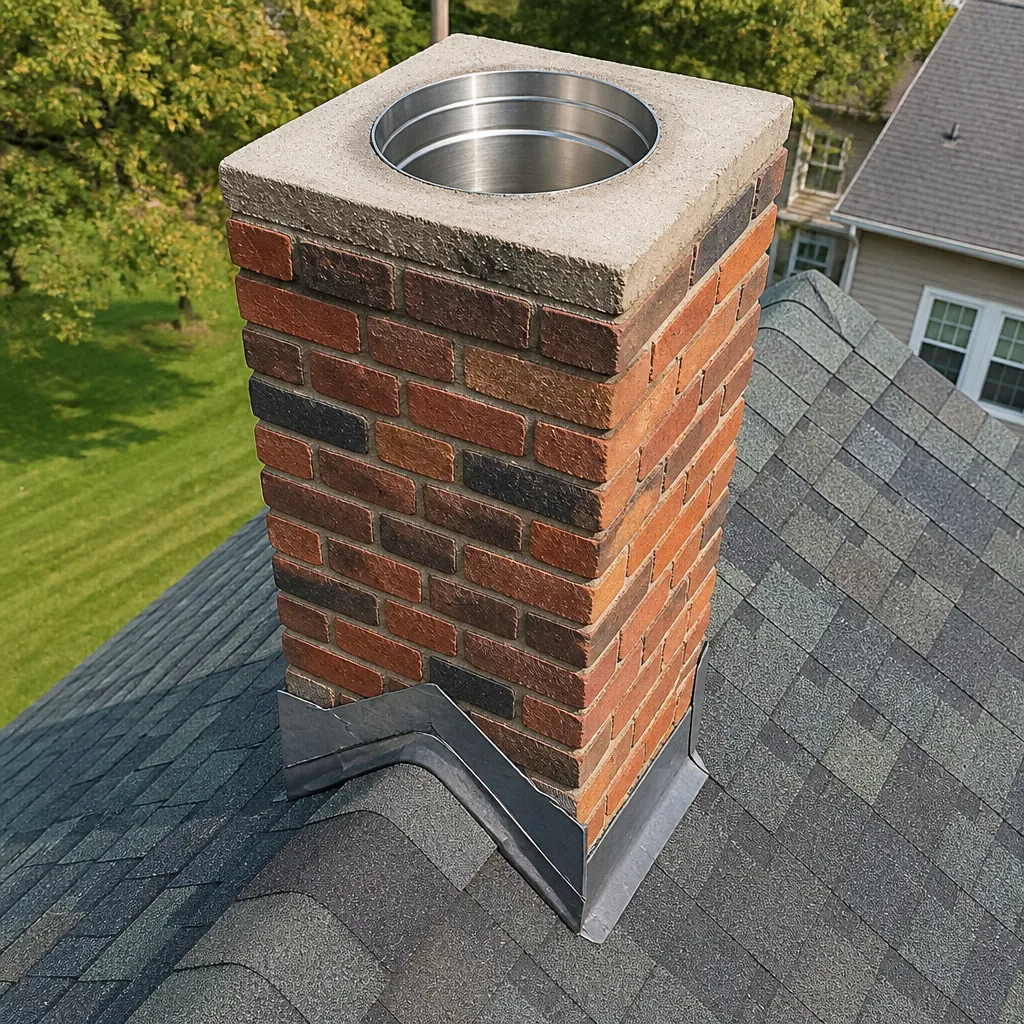
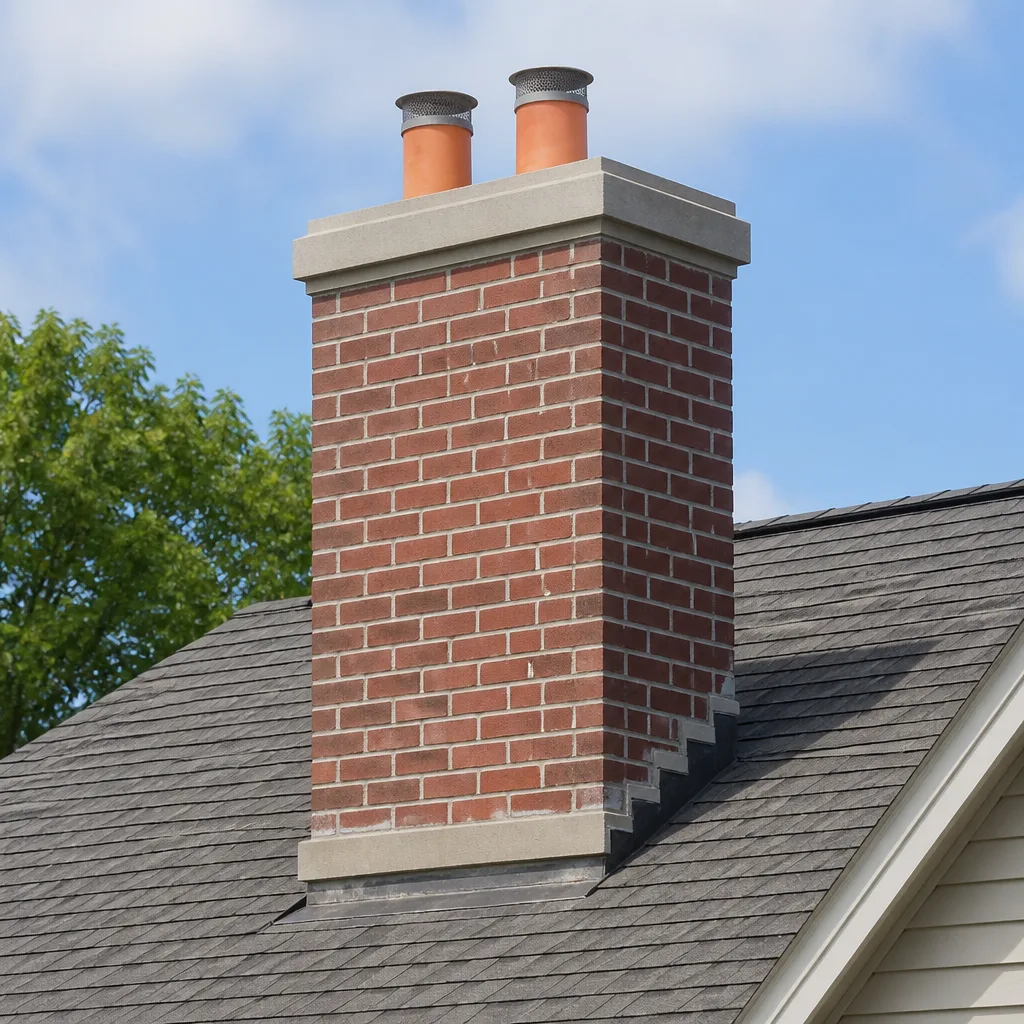
HeatShield manufactures two cap systems relevant to Leominster installations: the standard stainless collar-and-cap assembly for relined flues, and the specialized pour-in-place crown repair system that integrates a formed cap as the top termination. The collar-and-cap assembly is what most homeowners need replaced. It consists of a stainless steel base collar that slips over the relined flue tile, a cap with mesh screening, and a high-temp sealant joint.
To identify your HeatShield cap, look for the stamped model letter on the collar underside, visible from the roof edge. “HS-SC” denotes the standard cap; “HS-EX” is the extended mesh version for homes with heavy leaf or animal pressure, common in Leominster’s hillier neighborhoods near Northwest Cemetery where oak canopy is dense. The critical measurement is the flue tile outer diameter, not the liner inner diameter. HeatShield collars fit 8″, 9″, or 10″ outer tile dimensions. A 7″ liner with a 1″ surround wall takes the 9″ collar. Getting this wrong means the sealant joint fails in two seasons.
We source HeatShield caps through Haven’s buying network alongside DuraFlex and Gelco equivalents. For HeatShield relined systems, we generally recommend staying with the OEM collar geometry. The sealant profile and mesh angle are matched to the pour thickness of HeatShield liner jobs, and aftermarket collars sometimes sit proud of the flue edge, creating a ledge that traps water.
Signs Your HeatShield Chimney Cap Installation Is Failing
- Water dripping or staining inside the firebox during rain. The sealant joint between the HeatShield collar and flue tile has cracked or separated. In Leominster’s freeze-thaw cycle, this joint typically degrades faster than the cap itself, especially on south-facing exposures where daily temperature swings are widest.
- Rust-colored flakes or staining on the firebox floor or damper. The stainless mesh is corroding from the inside out, usually because combustion gases are condensing in the cap due to an undersized flue or blocked airflow. The mesh is sacrificial, but once it fails, embers and debris can exit the flue.
- Cap sitting tilted or detached after wind or ice. The collar has lost its mechanical grip on the flue tile, or the original installer used sealant alone without stainless tension bands. HeatShield specifies tension bands for all installations; we find them missing on about one in four caps we inspect in Leominster.
- Animals or nesting material visible in the flue. The mesh has been damaged, or the cap was never the correct mesh size for local wildlife. Squirrels in Leominster’s wooded sections can pull through standard 5/8″ mesh; 1/2″ is the safer spec for homes near Doyle Field or the rail trail corridor.
- White efflorescence or spalling on the chimney crown beneath the cap. Water is running down the outside of the flue tile, missing the collar entirely. This often means the cap was installed without a proper storm skirt or the collar was seated too high, leaving a gap.
 Before
 After
AfterReplacement Cost & What’s Included
| Component | Price Range (Leominster) |
|---|---|
| HeatShield OEM cap and collar assembly | $185-$265 |
| High-temp sealant and tension band hardware | $45-$65 |
| Labor: removal, inspection, installation | $110-$250 |
| Total installed price | $340-$580 |
The range depends on roof pitch, flue accessibility, and whether we find underlying crown damage once the old cap is off. Steeper pitches above 6:12 add labor time; caps on chimneys tucked against dormers or surrounded by solar arrays take longer to access safely. Every job starts with a camera scan of the flue interior and a written price before any work begins, per Haven Standard Clause 1. The installed cap carries the 365-Day Done Right Promise, and the photo record of the completed sealant joint is archived under Clause 4.
We do not quote over the phone without seeing the chimney. The difference between a 20-minute swap and a crown repair discovery is visible only from the roof and the camera footage.
DIY or Call Us?
There is no high-tension spring or electrical hazard on a chimney cap, but there is a genuine fall risk. Most Leominster chimneys require ladder placement on sloped ground, and the asphalt shingle grit on older roofs near downtown is treacherous when damp. If you are comfortable on a roof and have a helper, you can safely verify the cap model stamp and measure your flue tile outer diameter from the top. Do not attempt to seal or reinstall a cap in wet or windy conditions.
Where DIY goes wrong is the sealant cure schedule and the tension band torque. HeatShield-specified sealants require a 4-hour minimum cure at 50°F before the first rain; Leominster’s afternoon weather shifts in spring and fall make this timing easy to miss. Undertorqued bands loosen in the first heating season. Overtorqued bands deform the collar and break the sealant wedge. We carry the torque-calibrated drivers and the cure-time buffer on every truck.
If you are unsure about roof access or the collar fit, call (978) 481-2900. We will give you a written price on site, and the inspection itself is the first step.
FAQs
A properly installed HeatShield cap typically lasts 12-18 years in North Central Massachusetts, though the sealant joint needs inspection every 3-5 years. The mesh may need replacement sooner if you burn green hardwood or have heavy leaf debris. Call (978) 481-2900 and we will check the joint condition during your next sweep.
Mesh damage and minor sealant cracks can sometimes be repaired, but a corroded collar or distorted tension band means full replacement. We will show you the camera footage and give you both options in writing before you decide. Free estimates are available at (978) 481-2900.
Most HeatShield cap replacements take 45 minutes to 2 hours from ladder set to photo documentation, assuming no crown or flue tile damage is found. We book by the job, not the hour, so the price does not change if access is tighter than expected. Call (978) 481-2900 to schedule.
We stock the three most common HeatShield collar sizes and both standard and extended mesh caps. If your system uses an unusual tile diameter or a custom pour-in-place crown cap, we order through Haven’s buying network and typically have it within two business days. We will confirm fit during the initial inspection.
Written by Corrine Halstead, Owner, Level Two Chimney Leominster at Level Two Chimney Leominster, serving Leominster and nearby areas.